Recorder, Guitar, and Drum / Mutes and "Silent Sticks"
Dear NAfME,
Several years ago I wrote two short articles on “mutes” for general music instruments and sent them to the people at K-8 Magazine. K-8 published the one on guitars, but never used the short article I did on recorders. It surprised me because I thought there would be a lot more interest on the recorder one. I’m one of those teachers that cannot handle classroom “chaos”, my brain just “shuts down”. Using the “silent” sticks and “quiet” sticks for mallets and percussion instruments and the recorder “mute” has really helped me deal with that issue, and I also found them VERY helpful as classroom management tools. Attached or below is the initial article I wrote.
P.S. Let me know if anyone out there would like to turn each of their “boomwhackers” into individual “chromatic” instruments. That’s kind of “slick” as well.
Sincerely,
Richard Moon
Dear K-8 Magazine,
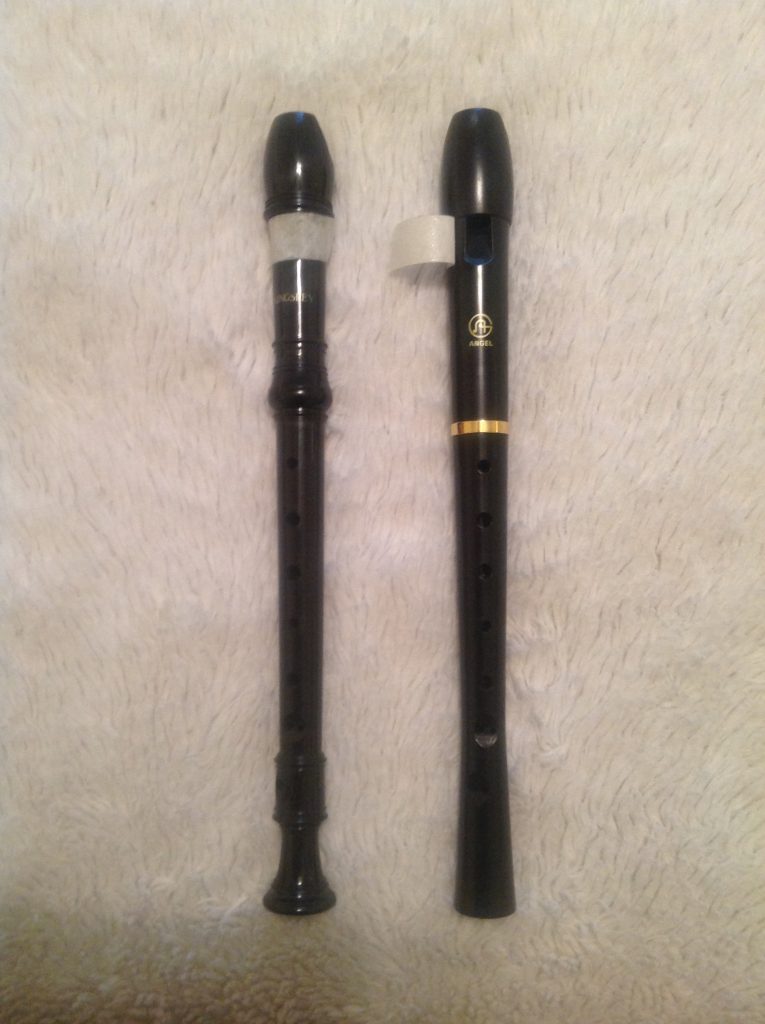
Here is another GREAT! idea for elementary music teachers. A RECORDER MUTE!
I understand space in a magazine is at a “premium”. If you just want to put the pictures in, take your own pictures, and just attach a single sentence explanation, be my guest.
Thanks,
Rich Moon
Summerville, SC
A Mute for Recorders and “Recorder Tisseling”:
Are any of you out there “ex – band directors” that traded in your baton for a recorder cleaning rod and some karate belts? Do you miss the days when you were able to work with one section or a group small of students and could tell the rest of the band to quietly practice “tisseling” their parts? Fear no more, those days are back! Let me introduce to a marvelous new invention called the “recorder mute”. To acquire this magnificent feat of science and engineering you need only to go to your nearest store, any store, and purchased a roll of masking tape. For each recorder, tear off a 2 to 3 inch strip of tape. Center the strip over the recorder “window”, and then cover that hole completely. Go ahead “kiddies”, blow into your recorders, blow your brains out if you wish, the instrument will barely make a sound.
I like to begin a recorder project with all of the student’s recorder mutes on. As I teach a song I will roam around classroom, visually observing the children’s rhythmic accuracy and fingering precision. I select a few students who seem to demonstrate mastery in both areas and then personally detach their mutes. This is done by removing the tape at one end an opening up the “window” hole. I also like to leave the rest of the masking tape attached to their recorders. These students will then act as models to allow the other children to hear the correct pitch and rhythms required in the songs they are also trying to learn. As more and more students attain mastery of the written notes and rhythms, I gradually increase the number of student’s actually contributing sound to the ensemble. This allows me to control the performance quality of each rehearsal and help motivate the students to want to attain the targeted performance skills. For those students who insist upon showing off (during instruction) what virtuosos they are, well….. “What the teacher giveth, the teacher can taketh away.”
Best of luck. Happy “Tisseling”
Rich Moon
Goodwin Elementary School
North Charleston, SC
Recorder Mute 2019 You Tube Video:
Create Your Own "Guitar Mute":
Dear NAfME:
I was recently asked to provide a previously published “short” article published in K-8 magazine (I wrote a while back) regarding how to successfully “mute” a guitar. It was great when I taught guitar in my music classes, that I could pass out the guitars and students could immediately start practicing, but very little (if any) sound could be heard. I would always start each class with some activity, exercise, or warm up the students were to practice as I passed out the guitars. I could be sure those that needed a little extra practice time would get theirs first, or could also start out by “pairing” students, where a more advanced player could help out a “struggling” one during this initial “down time”. In this way I could also easily check (now being able to hear) the tuning on each guitar as I passed them out and then inserted the guitar mute as I handed each student their “in tune” instrument. I actually could break up class rehearsal and also use the “tutor and apprentice” or ”pairing” strategy during “open” practice, allowing students to easily practice individually or collaborate.
The classroom rule was, I would tell the class when they could take the mutes out and when they could (or had to) put them back in. I also might work with the full class on hand position or technique with the guitar mutes in, allowing me to easily address the class as they were actively practicing as an ensemble. Finally, it was a great “class management” aide, for the student(s) that just could not keep their fingers off of their strings during instruction. I would simply continue on with the lesson as I slipped the mute back into the offending “guitar(s)”. This eliminated the need to take instructional time to address the situation, none-the-less, message “clearly received”.
Sincerely,
Rich Moon
How to “mute” a Guitar
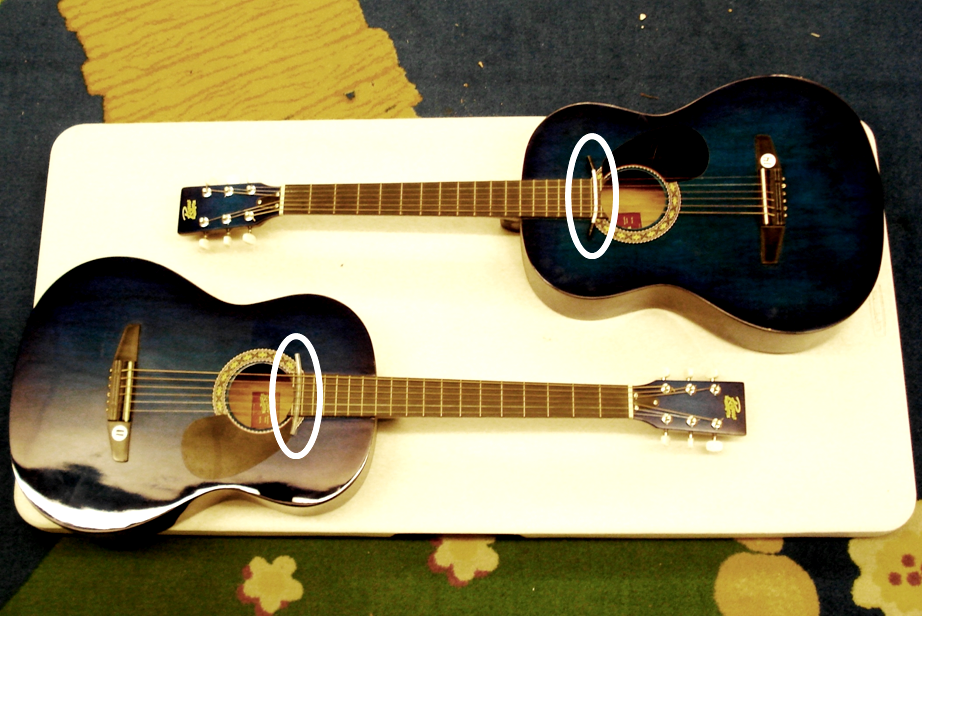
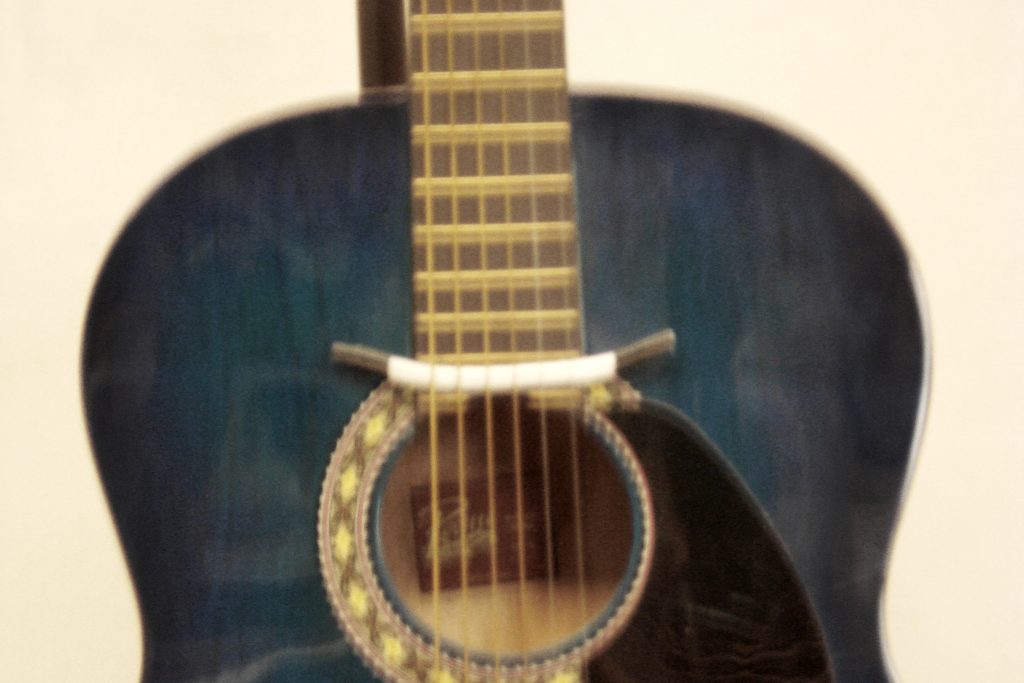
I’m Back!!!!! Blub, blub, blub… do any of you guitar teachers out there have a fish tank at your home or school. If so, congratulations, you are also in possession of the perfect guitar mute. It’s me again, I brought to you the recorder mute and now it is time for me to “pick” on guitars. Take a length of “air hose” that you would use in setting up a tropical fish tank. Cut off from one end a 2 ½ to 3 inch length of tubing. Slide it under the strings, just above the sound hole and in between the last two frets (closes to the bottom of the guitar). The feel of the strings on the fingerboard and above the sound hole is the same, but little to no sounds is projected due to the guitar strings no longer being able to vibrate.
The see through fishing tube is barely visible from a distance. The problem however, if you set one down you may have trouble finding it again. I have lost many guitar mutes this way, so I will take colored pipe cleaner and cut them off at the same length. The pipe cleaners fit easily inside the air hose giving the mutes a variety of possible colors. This makes locating that much easier. I will take some black electrical tape and wrap it a couple times on each end. I set the tape halfway on the plastic tubing and halfway on both of the exposed pipe cleaner ends, which is why I cut the pipe cleaners off a little longer than the air hose. I then squeeze and roll up both ends which keeps the pipe cleaner from coming out of the air hose tubing / “guitar mute”. Attached are some photos with the mutes correctly inserted into their guitars.
Sincerely,
Just call me “Mr. Quiet”
Richard Moon
Summerville, SC 29483
843-875-5594
Guitar Mute Photo #1
Guitar Mute Photo #2
"Silent", "Quiet", and "Regular" Sticks and Mallets for "Bucket Drums and Other Percussion Instruments:
Dear Director
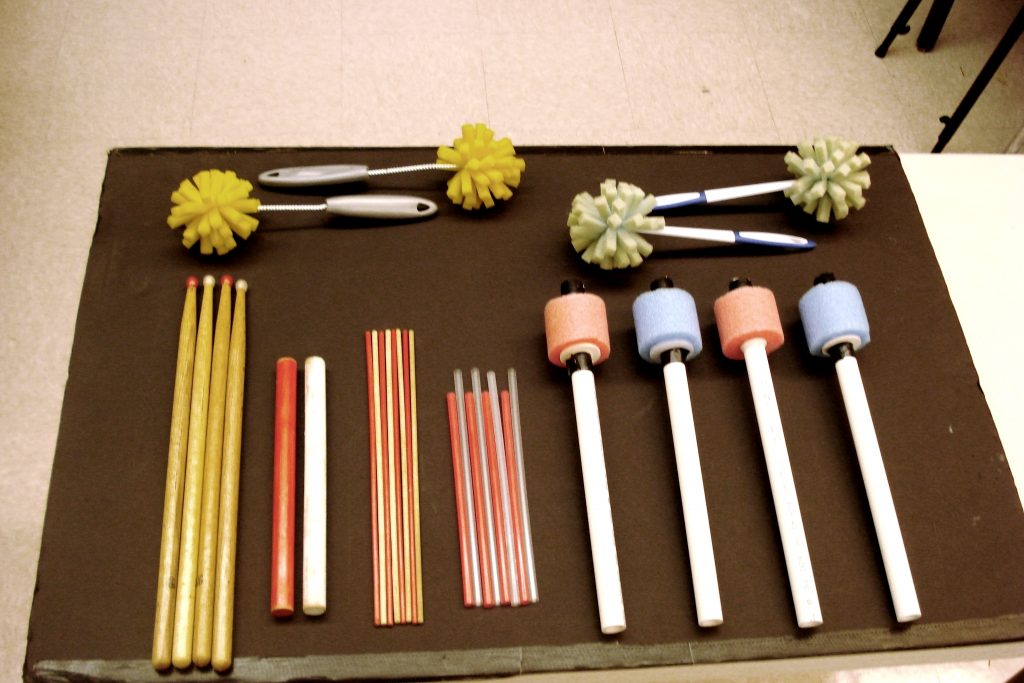
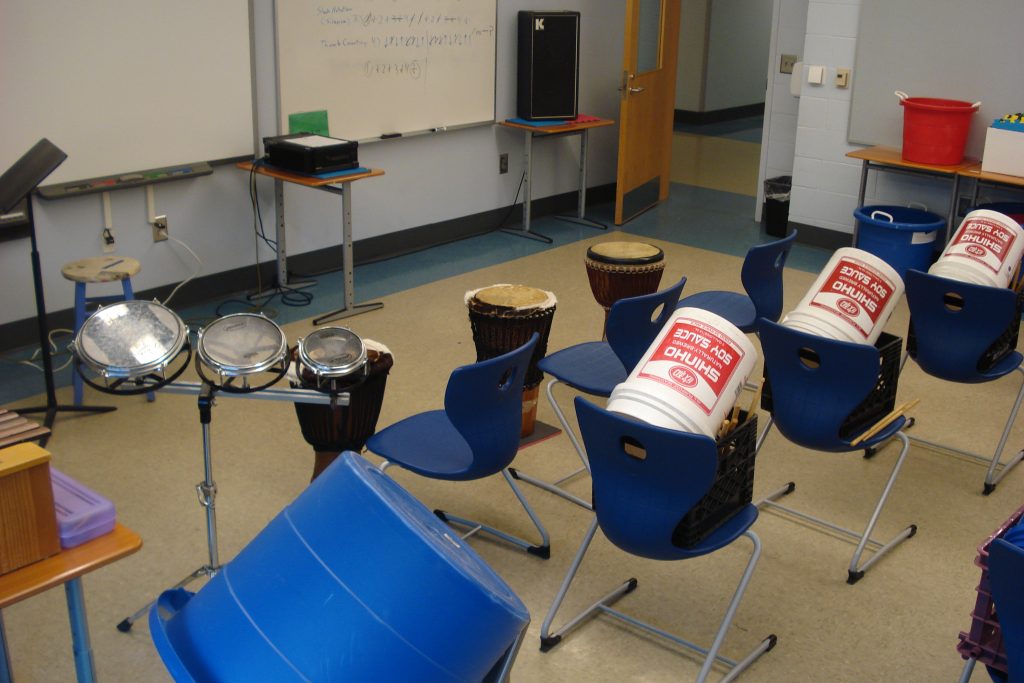
I ran across some of my bucket drum ensemble warm ups and “cadences” while working on my improvisation web site. They use multiple pitches with the side being “high” and the bottom being the low pitch. Don’t forget, I color coded everything. We started all warm ups and ensembles with the red & white straws (red in right hand). I did not have to teach “sticking as a separate concept, they just learned right from the start in context of the music (see below). After I would observe the class performing the exercises “visually” correctly, I would then allow individuals (or the full group / class) to move on to the “quiet” or “regular” sticks/mallets to then add sound. If you did not want to mess with red and blue (baritone and bass) buckets, you could use 2 toms as the “middle drum” and 2 timpani for the lower pitches, putting the rest of the class on the smaller buckets. If I want three different “sounds” per bucket, I will use “X’s” on the top (“E”) space for the “rim”, the middle line (“B”) for the side, and the bottom space (“F”) for the bucket “bottom”. Note: I would still use the red and white straws (or sticks) along with the red and white color coded notation to clearly define the desired “sticking” and help accelerate the “learning process”.
If the buckets are too loud (due to your numbers), you could use the eighth inch dow rods (see picture). I just spray painted half of the red rods and WALLA! color coded drum sticks. I would even purchase drum sticks with the plastic “beads” for the “tip”, and spray paint half of them red, to continue the “sticking code through the “silent”, “quiet”, and “regular” levels of performance sounds. The three color coded warm ups mentioned earlier are also GREAT for teaching independent part reading/counting. In the warm up process you can speed the tempo up every few “reps”, just like in the drum section marching band warm ups. “We Will Rock You” is just a “play-along” sketch to use with Queen.
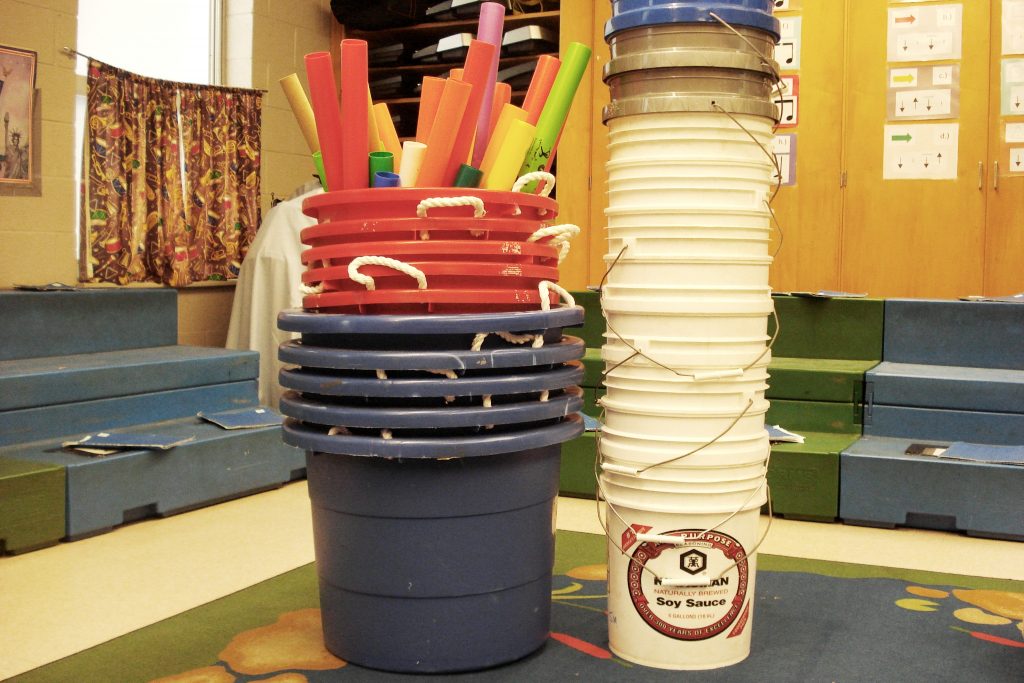
Bucket "Drum Line" or Bucket Ensemble Equipment:
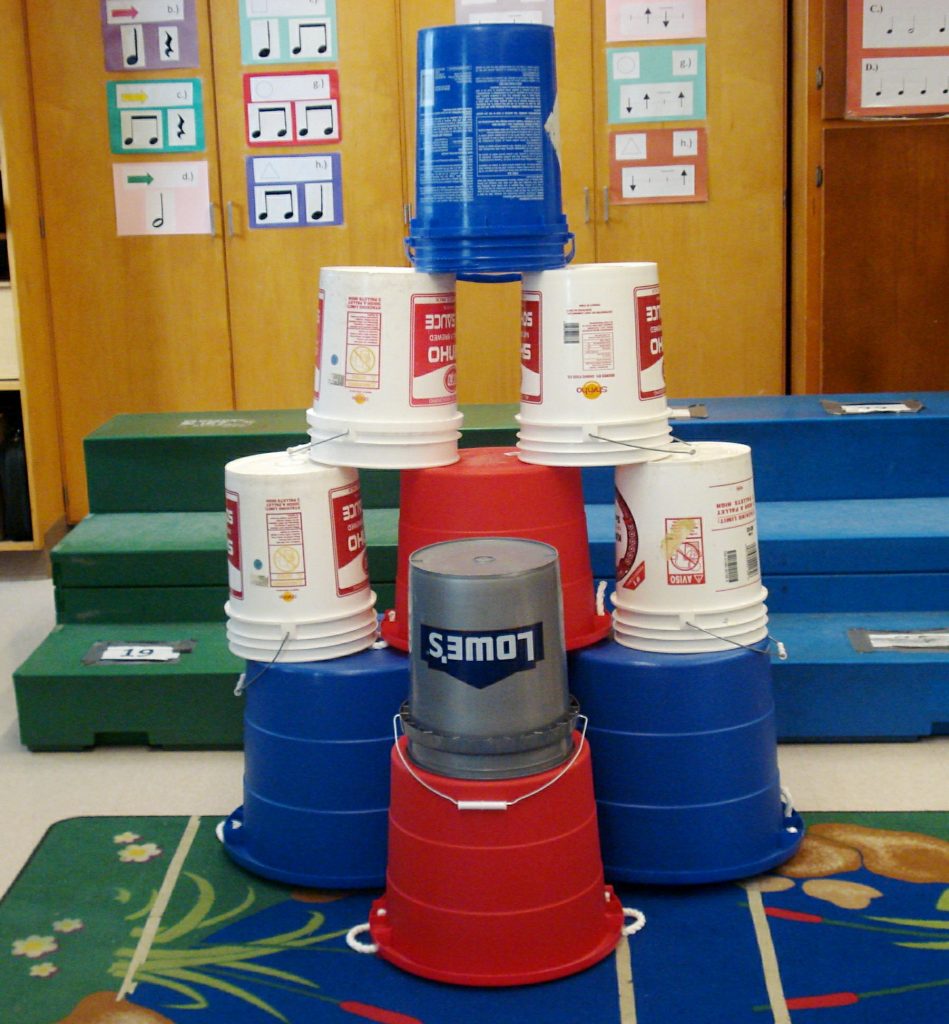
"Bucket Drum" Set Up for Summer S.T.E.P. Program:
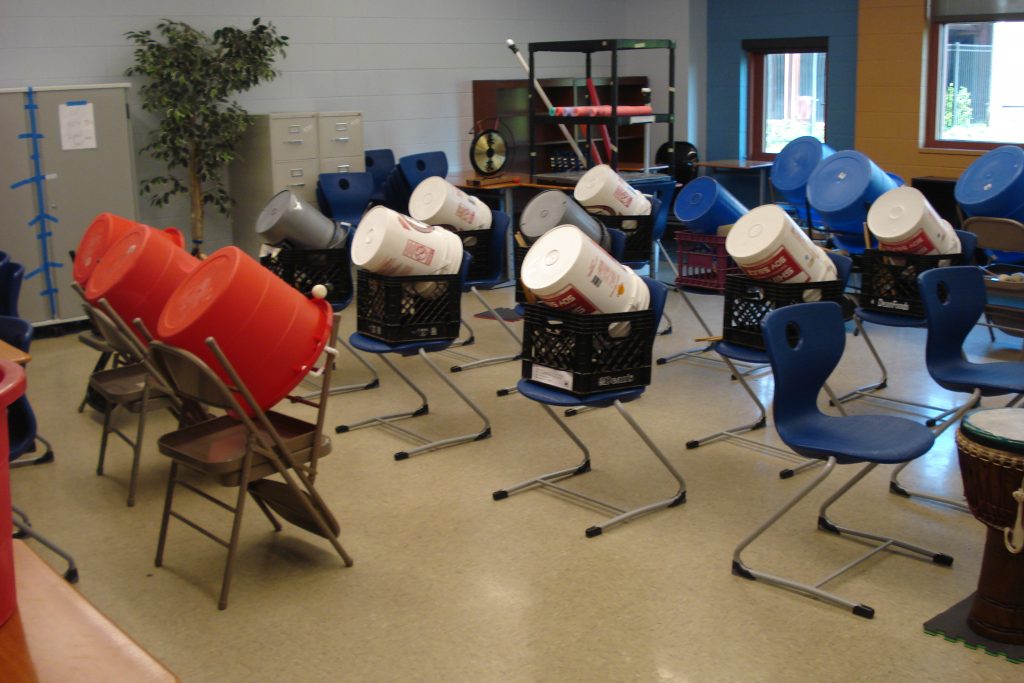
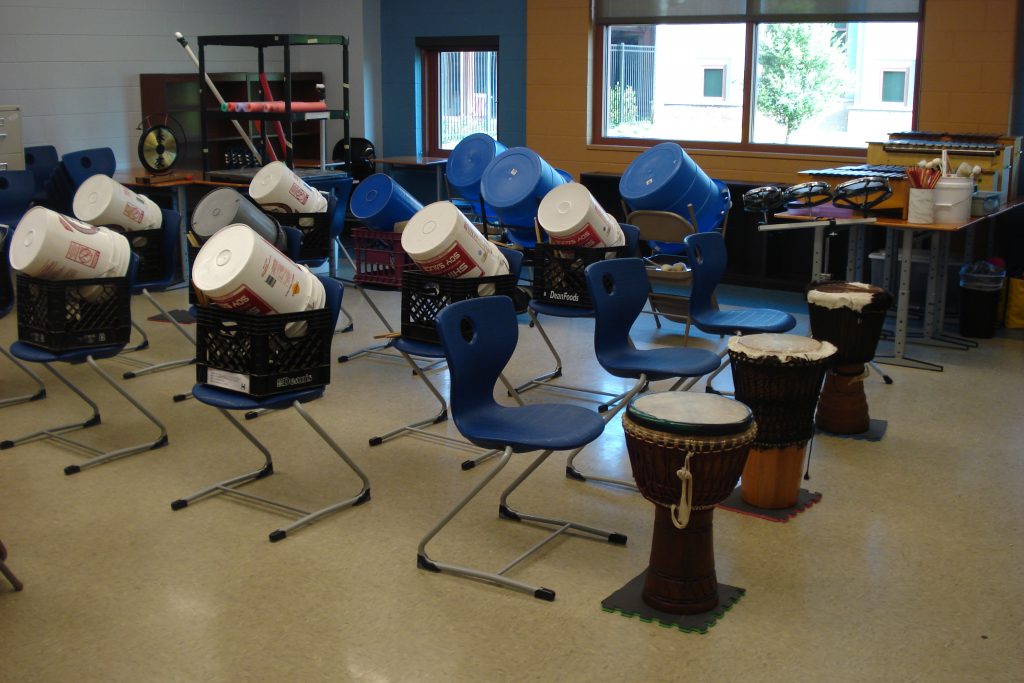
Goodwin Elementary "Bucket Drum" Class Set Up (as in the movie "Drum Line")
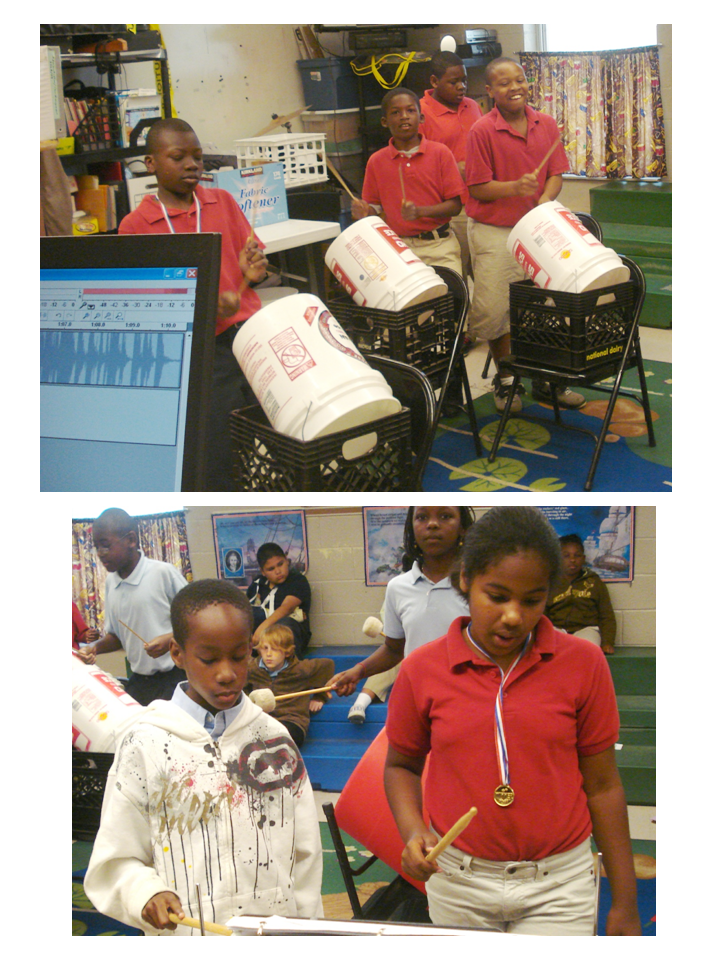
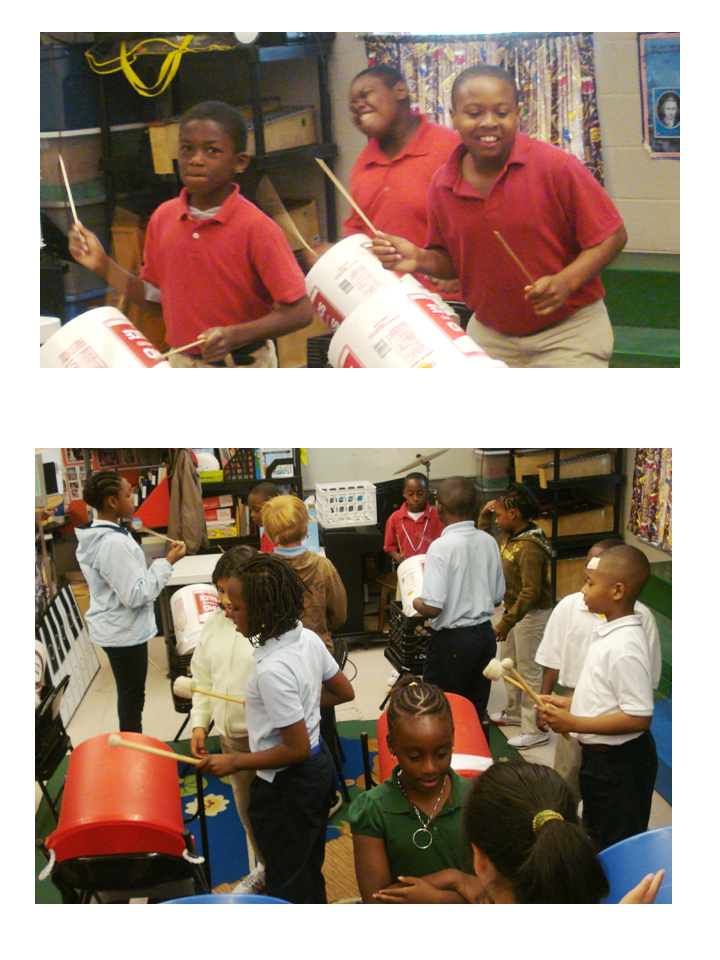
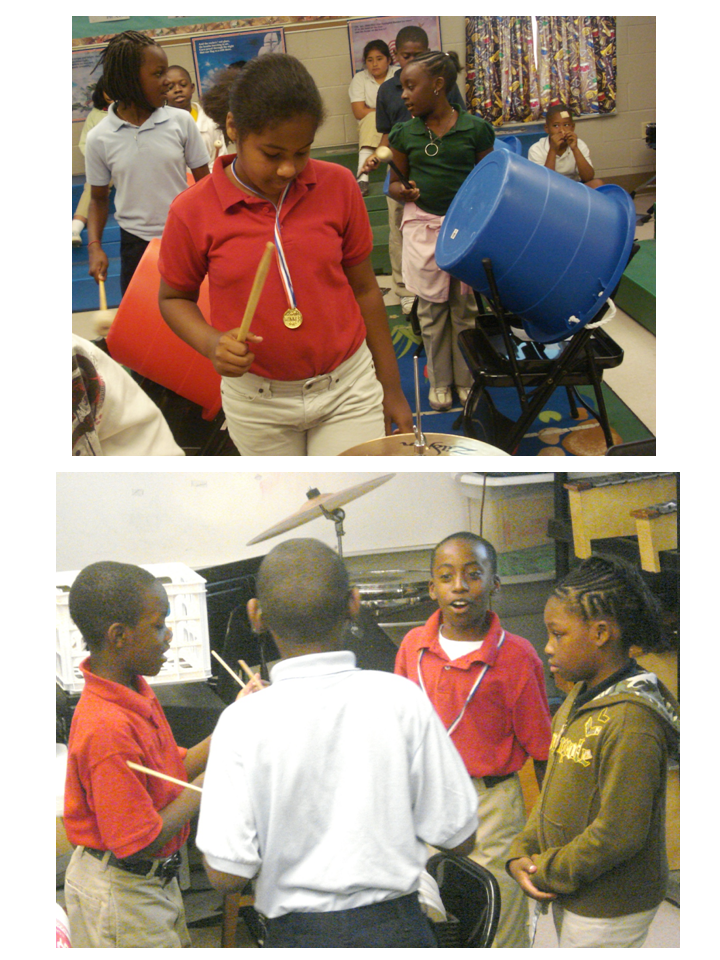
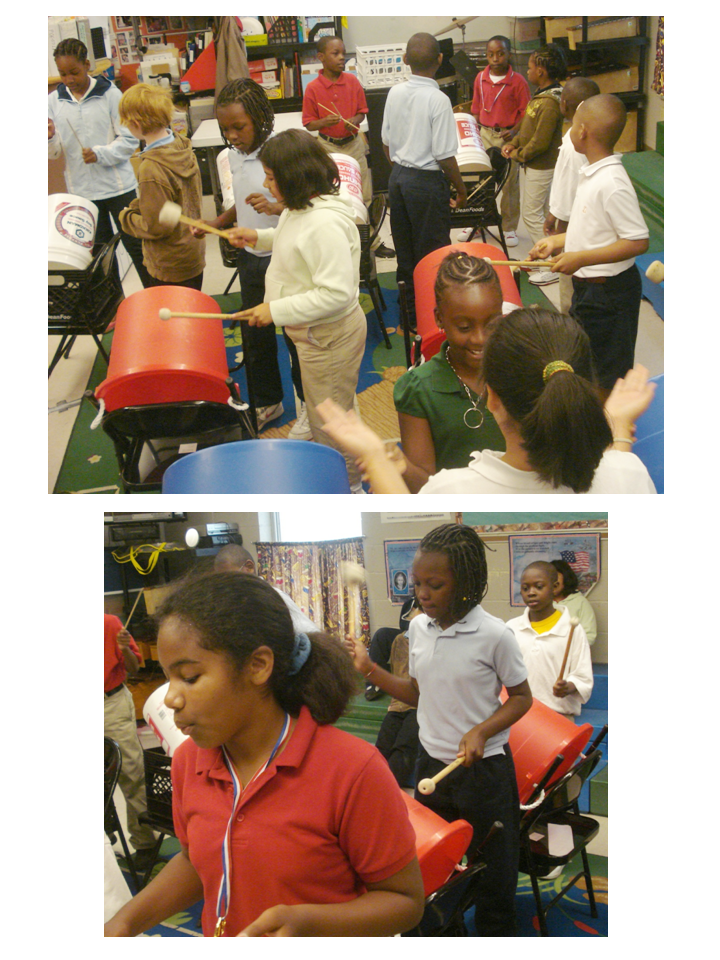
"Action Shots of "Bucket Drum Ensemble" in General Music Class:

Single Bucket Decoding Exercises and Warm Ups:
Bucket Ensemble Color Coded Warm Ups #'s 1 - 3 (by bucket):
Bucket Drum Cadence #1:
Bucket Drum Cadence #2:
Bucket Ensemble Drum Cadence "The Beast":
"Two Handed" Drum Set Exercises on Bucket Drums:
"We Will Rock You" Bucket Drum "play-along" Notation: